Your Guide to Strong Choppers & Shoulder Mounts
If you’ve ever tried to nail a Chopper or Shoulder Mount, you already know: these inverts are humbling. They’re foundational, yes — but they can also feel impossible if you’re relying on momentum or missing key strength and mobility.
This guide will break down:
The muscle groups you actually need for clean, repeatable inverts
How Choppers and Shoulder Mounts are similar (and where they differ)
Conditioning drills that build the exact strength required
Bonus tips for progressing toward straight-leg variations
⚠️ Quick disclaimer: This guide isn’t a substitute for hands-on instruction. Always train safely and support your local studios! What I am giving you here is the roadmap for building the underlying strength and control so that when you practice these tricks, you’ll be set up for success.
Why These Tricks Are Hard (but Worth It)
Both Choppers and Shoulder Mounts fall under inverts — moving from upright to upside down. The challenge? You’re asking your body to:
Compress and lift through the core + hips
(rectus abs, obliques, transverse abs, pelvic floor, and hip flexors)
Pull powerfully through the upper body
(lats, rhomboids, traps, biceps, triceps)

Stabilize at the shoulders and scapula
(serratus anterior, rotator cuff, scapular stabilizers)
Use lower body mobility and strength
(quads, hip flexors, glutes for power; hamstring flexibility for clean lines)
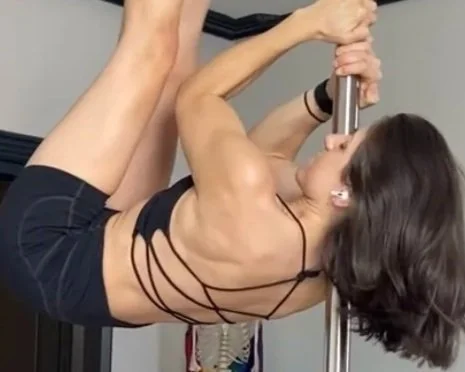
Key Difference Between Choppers & Shoulder Mounts
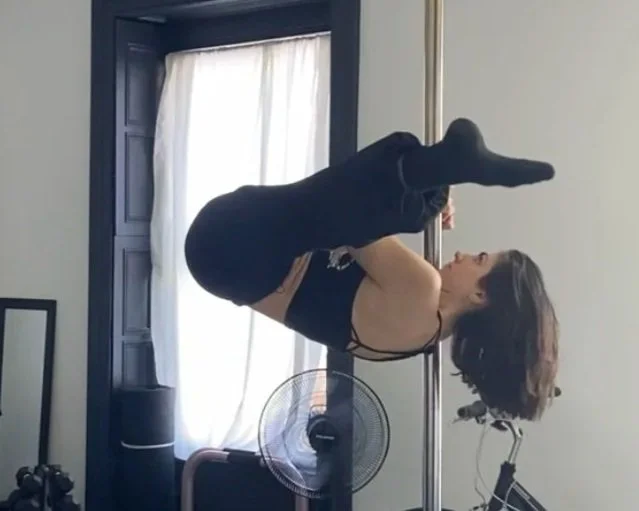
CHOPPER
→body stays closer to the pole, more points of contact, slightly more forgiving.
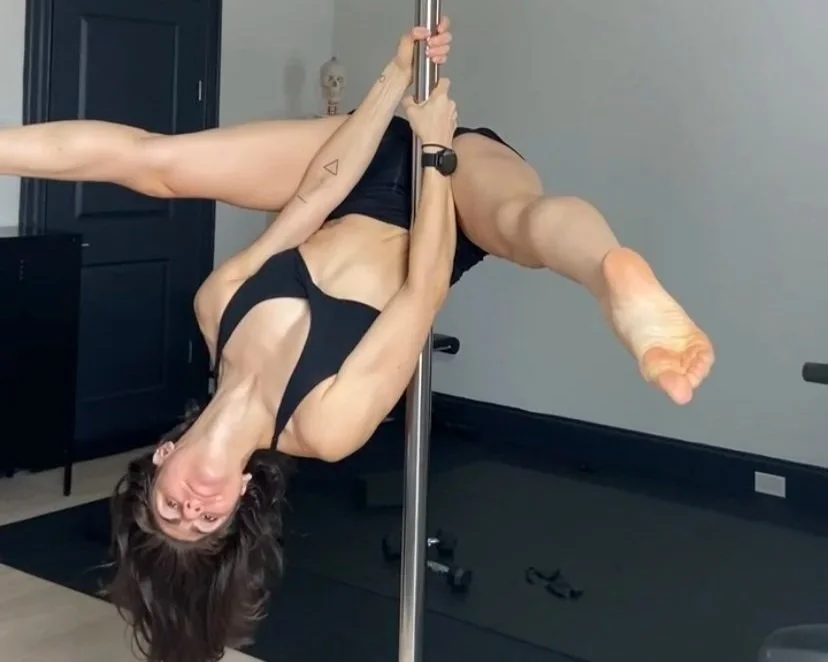
SHOULDER MOUNT
→ hips travel further away, overhead grip demands more scapular control, overall more strength-heavy.
👍 Rule of thumb:
Closer to the pole = easier. Further away = harder.
Training for Choppers
What They Require
Hip flexion + abduction (knees toward shoulders)
Spinal flexion + posterior pelvic tilt (aka “tuck your tailbone” — or my favorite cue, “show your butthole”)
Scapular stability + back engagement (shoulder blades pull together, elbows in, chest stays open)
If you’re lacking in any of these areas, you’ll probably compensate with swing and momentum — which leads to messy lines or even injury.
Conditioning Drills for Choppers
Reverse Crunches → focus on pelvic tuck; add ankle weights to progress
👉 watch demo videoRows → single-arm or cables; build upper back pulling power
👉 watch demo videoScapular Pull-Ups → scale with floor support or bands
👉 watch demo video
Training for Shoulder Mounts
What They Require
Scapular depression (elbows pull down/away, traps + lats firing)
Posterior chain strength (to lift hips up and away)
Deep core + hip flexor compression (crunch mechanics)
… and let’s be real: a little pain tolerance. These aren’t comfy in the beginning 😅
Think of it as a crunch out of a backbend — not exactly natural!
Conditioning Drills for Shoulder Mounts
Hanging Tucks → Toes to Bar → build control without relying on momentum
👉 watch demo videoNeutral Grip Pull-Downs → pause at the bottom, slow eccentric
👉 watch demo videoOpen Clamshells → strengthen external rotation + abduction, key for hip control
👉 watch demo video
The Secret Ingredient: Progressive Overload
If you’ve been repping the same drills for months without change — that’s your problem.
Progressive overload means gradually increasing challenge (heavier weight, more reps, longer hold, harder variation).
👉 Read my guide on progressive overload
This is the only way to keep your body adapting and your strength moving forward.
Bonus: Straight-Leg Variations
Once you’ve got a solid tuck, you’ll want to work toward clean, straight-leg Choppers and Shoulder Mounts. Here’s what makes the difference:
External rotation (open the hips)
Active hamstring flexibility (control your lines, don’t just “flop” them)
Drills to Add:
Wide Stance Jefferson Curls → hamstring stretch + spinal flexion
👉 watch demo videoSumo Squats / Horse Stance → hip abduction strength + stretch
👉 watch demo videoStraddle Leg Lifts → inner thigh strength for clean overhead lines
👉 watch demo video
Final Thoughts
Both Choppers and Shoulder Mounts are about more than just “getting upside down.” They’re a test of strength, mobility, and control — and the more solid your foundation, the better your tricks will look (and feel).
Start small, train the pieces, and apply progressive overload. Your future straight-leg choppers and shoulder mounts will thank you.
♡ Mackenzie Adeline